Castrum Lacus Litore
Brionac
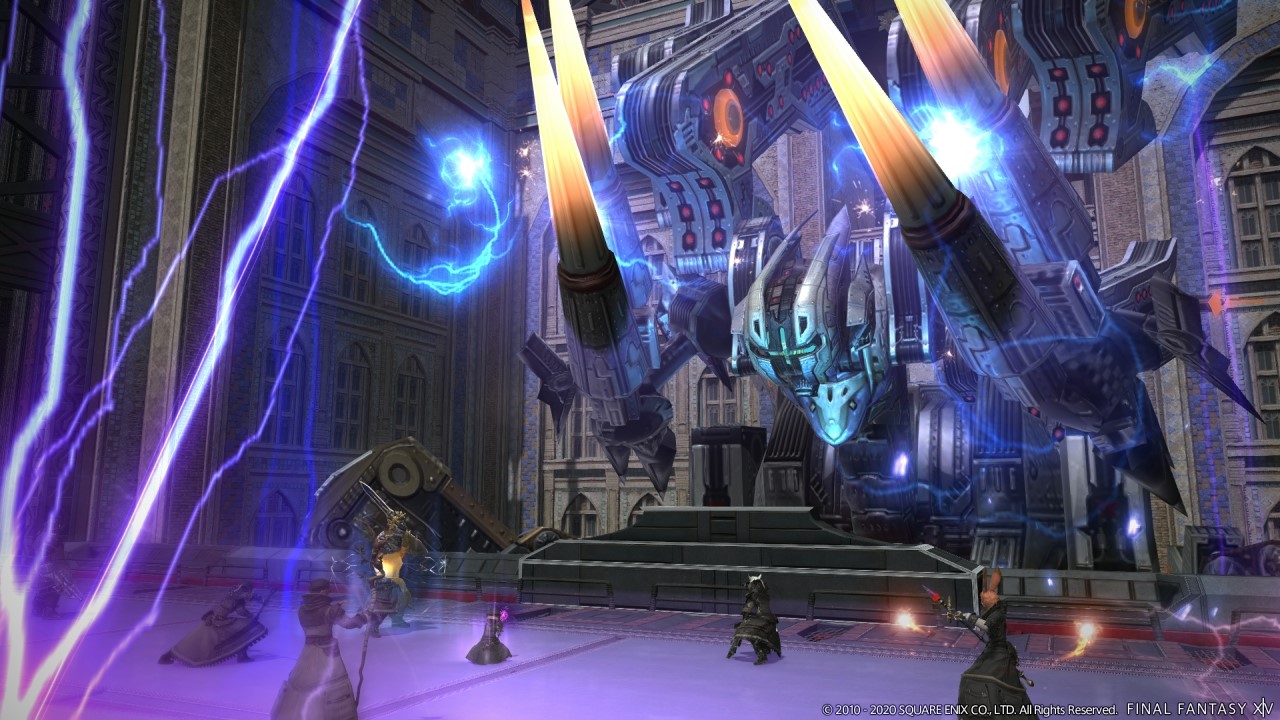
The first encounter features two bosses: Brionac and
Split the raid in half with one going up the ladders to Brionac and the other remaining bottom.
Each half will have different mechanics to contend with.
Work In Progress
Top
Bottom
Albeleo The Maleficent & The Prisoners
We can’t give these durs another ilm.
Take no prisoners! Kill every last one of them!
Albeleo the Maleficent will attack the raid with multiple waves of monsters with various telegraphed mechanics. This is a perfect opportunity to AoE with Lost Action buffs.
He will spawn and tether to larger ones becoming invulnerable. Defeat the monsters then resume taking him down.
Once Albeleo the Maleficent is down, he will teleport away and the barriers preventing access to the other area will fall.
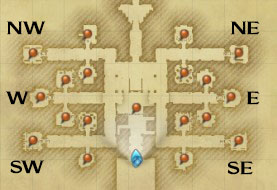
Now it is time to rush and save the Captured Resistance Members by killing the 4th Legion Executioners in time. Being too slow will result in them dying and losing an extra Personal Spoils coffer later.
Split up the raid’s groups into 6 to take a holding cell wing each:
- NW
- W
- SW
- NE
- E
- SE
See the map below.
This is a prime time to make use of Lost Death if you have it saved in your Lost Action Holster.
Once the prisoners are rescued, clear out the other rooms and have one player stand on the red floor panels. When everything is clear and all panels are active, the next area to Adrammelech will open up.
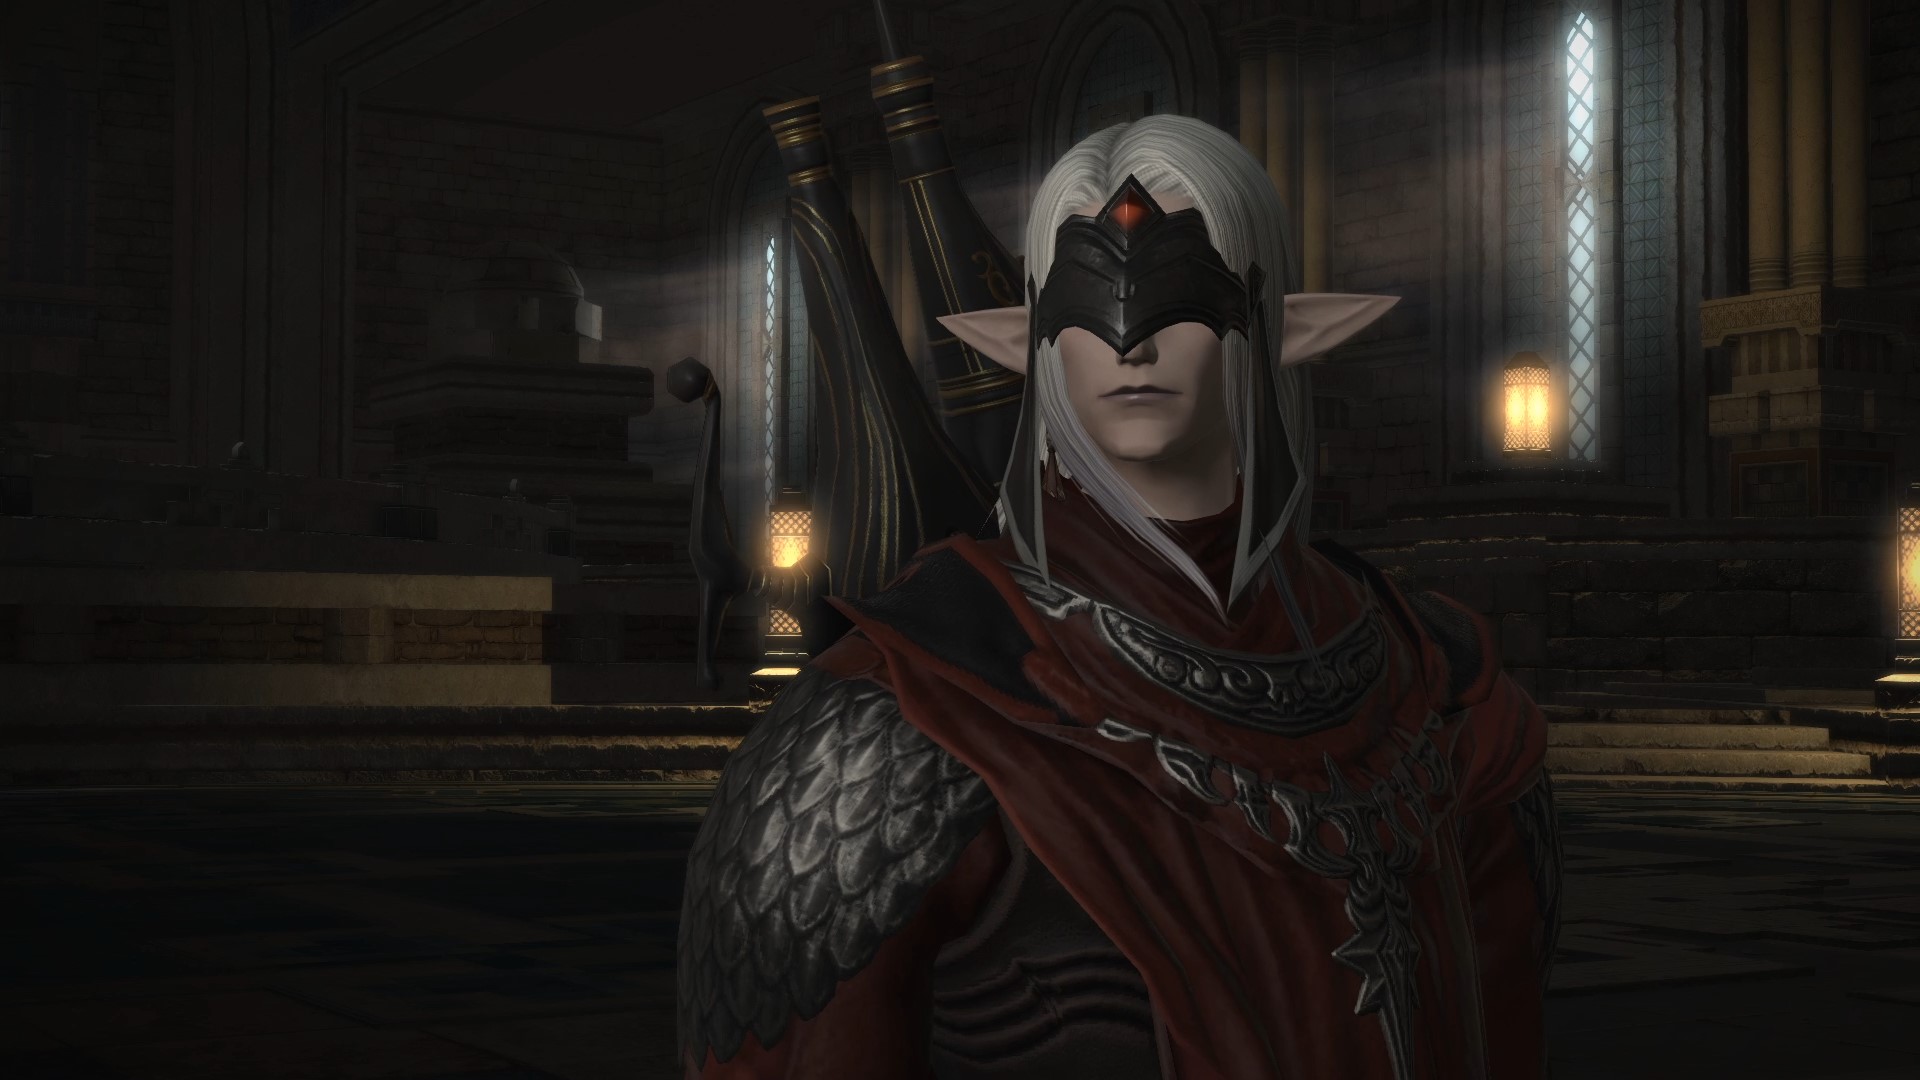
Adrammelech
So this is what it is to be a god.
I am Adrammelech…
Now know regret, a sinner’s recompense.
With his initial cast of Holy IV, the arena will have a damaging holy wall around it to reduce the arena’s size. Shortly after he will cast Curse of the Fiend showing 6 different Elemental Orbs and his mastery of the aspects.
Curse of the Fiend
Elemental Orbs
Adrammelech will pull Elemental Orbs into his sphere in the middle of the arena throughout the fight. When they reach it, they will perform their effects listed below. It is random which Element Orbs will be present.
- Fire: Fire IV magic damage & Pyretic debuff applied. Don’t move nor perform actions until it fades.
- Ice: Blizzard IV magic damage & Frozen debuff applied if you stay still. Keep moving to avoid this.
- Water: Water IV magic damage & knockback. Anti-knockbacks work.
- Earth: 3 concentric circle/donut AoEs - use the rings on the arena floor for the AoE range. Stone IV magic damage & Vulnerability applied if hit. Time your movements to dodge.
- Wind: Large AoE ring around the edge of the arena. Stay middle to avoid.
- Lightning: Large AoE circle from the middle. Run to the edge to avoid. Thunder IV magic damage, Paralysis & Vulnerability applied if hit.
Following several Elemental Orb mechanics, Adrammelech will cast Burst II into Warped Light. Look for the Lightning Orb on the wall then head opposite far enough away to avoid the large AoE.
Another Curse of the Fiend, this time introducing Accursed Becoming where he will tether to two different Elemental Orbs for two separate mechanics simultaneously.
Accursed Becoming
Accursed Becoming has Adrammelech tether to two Elemental Orbs.
Take note of which pair as they will dictate the next mechanic sequence.
Examples:
- Water + Earth: Get knocked back then wait to dodge the Earth AoEs.
- Water + Ice: Get knocked back and keep moving to not get frozen.
- Water + Lightning: Get knocked back and stay out of the Lightning circle AoE.
- Water + Wind: Get knocked back then run in to avoid the Wind ring AoE.
- Water + Fire: Get knocked back then stay still.
- Lightning + Ice: Run to the edge out of range and keep moving to not be frozen.
- Earth + Fire: Move to the arena edge before this resolves. Wait for Pyretic to fade, then move to dodge the Earth AoE.
After the elemental pairs, Adrammelech will cast Tornado spawning multiple slow moving ground AoEs that will knock you up, stun you and apply a Vulnerability stack if you touch them. Flare is a tank buster on the MT.
As the tornadoes move, he will cast Holy IV for moderate raidwide damage. As the tornadoes fade, Meteor is cast spawning 6 Arcane Spheres that must be destroyed. While you can survive one detonating, this is not recommended.
Another Curse of the Fiend with Accursed Becoming, then a Flare on the MT into Tornado. This time he will cast Meteor while the tornadoes are still active.
Next will come Burst II into Warped Light, dodge this the same as before. He will them follow with Holy IV x 2 so make sure your party is topped up, then into a Flare on the MT.
Adrammelech will start looping mechanics with Curse of the Fiend and Accursed Becoming, Tornado into Meteors then Burst II into Warped Light and Holy IV x 2.
By now, he should be dead. Congrats on the Personal Spoils from rescuing the prisoners!
It is known that one of his Ice mechanic pairs is bugged, displaying Fire IV as the damage taken instead of Blizzard IV. It is unknown what his enrage is.
Adrammelech Rewards
Prisoner Personal Spoils
For each of the 6 prisoners rescued from execution you will gain an additional Personal Spoils treasure coffer containing loot after you defeat Adrammelech.
- One additional chest will contain 2 Forgotten Fragments of Becoming
- One additional chest will contain 3 Forgotten Fragments of Mastery
- One additional chest will contain 3 Forgotten Fragments of Superstition
- One additional chest will contain 3 Forgotten Fragments of Sagacity
- One additional chest will contain 2 Forgotten Fragments of Transcendence
- One additional chest will contain 3 Forgotten Fragments of Caprice
- All additional chests will give 1 Bozjan Coin each
- All additional chests have a random chance to drop a box of Bozjan Runner’s secrets to upgrade the Bozja armor. This item is tradeable
- The large Personal Spoils chest will contain 5 Bozjan Coins
Lyon rem Helsos & Dawon
I have to hand it to you, I never thought you’d make it this far.
I’m going to enjoy this…
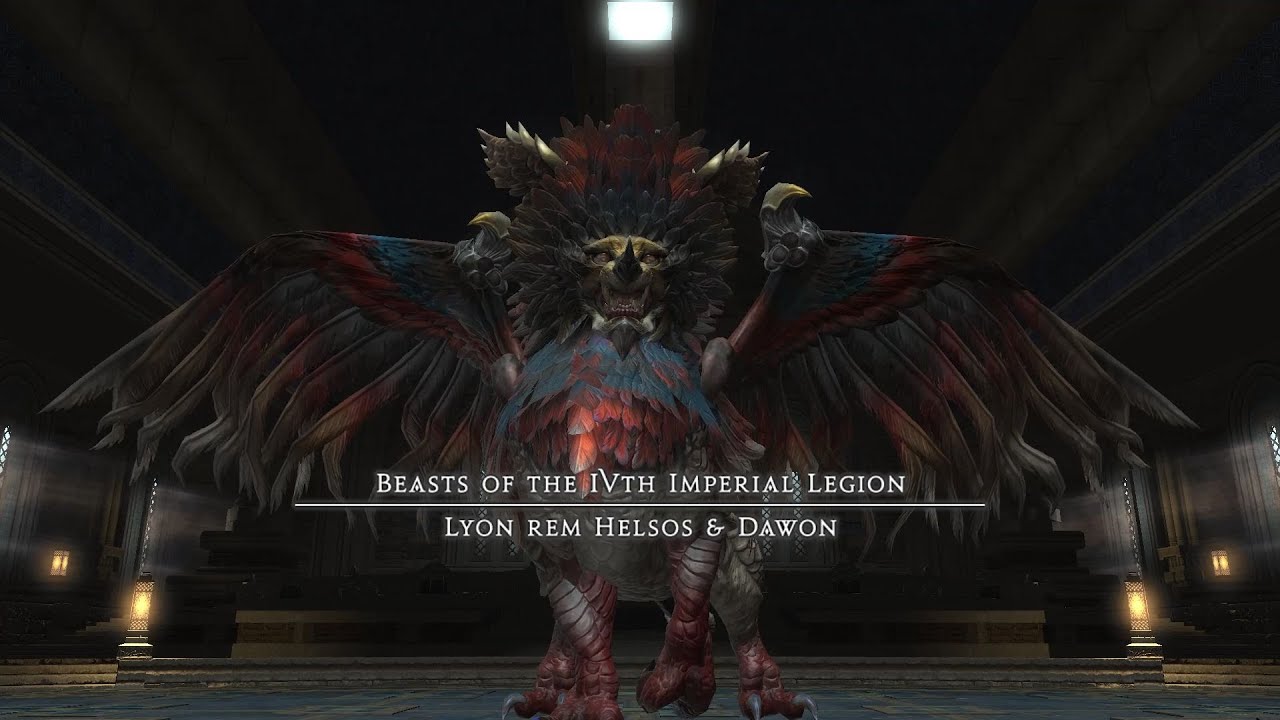
Work In Progress
Lyon rem Helsos & Dawon Rewards
- The large Personal Spoils chest will contain 10 Bozjan Coins
Congratulations on clearing Castrum Lacus Litore. If it is your first time, enjoy the story cutscene!